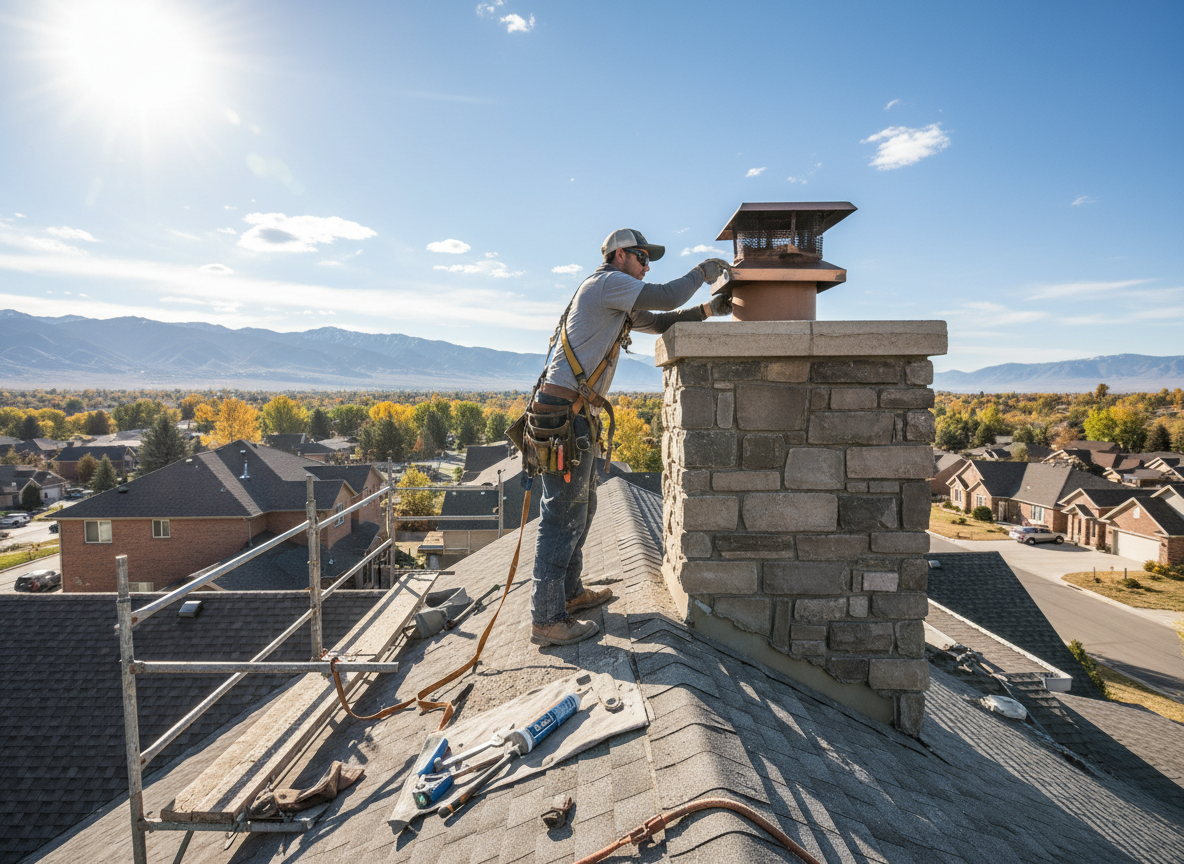
American Fork experiences cold winters with freeze-thaw cycles that crack mortar and loosen chimney caps on homes built before 1980 in Downtown American Fork. Hot summers add UV degradation to metal caps while wind funneled through American Fork Canyon drives rain and snow under the cap, rusting the flue liner and allowing water into the attic. Technicians check the crown, flashing, and anchor points because a single loose bolt lets embers escape during wood stove use common in North American Fork neighborhoods.
Repairs start with a ladder inspection from the roof rather than the ground because canyon gusts hide hairline cracks visible only up close. We replace damaged terra cotta or concrete caps with stainless steel versions secured by four stainless lag bolts into sound brick, then reseal the crown with high-temperature refractory cement rated for Utah's temperature swings. Homes near Timpanogos Cave or along the canyon road often need extra wind straps because prevailing gusts exceed 40 mph in winter storms.
South American Fork and Highland border properties sit on slightly higher ground where snow lingers longer, increasing ice dam pressure against the cap. We always verify the spark arrestor screen mesh meets current Utah fire code after repair because older 1/2-inch screens clog with canyon pine needles and restrict draft. Work is scheduled around daylight hours even though the shop answers calls 24/7, since roof safety on icy surfaces requires clear visibility.
Lehi and Pleasant Grove customers often request the same cap upgrade after seeing sparks on windy nights. The job finishes with a smoke test from the fireplace to confirm positive draft before leaving the site.
Technician insight
In American Fork, the thing that catches most people out with chimney cap repair is how canyon winds loosen the original anchor bolts on pre-1990 homes in Downtown American Fork; the cap looks fine from the street until a winter storm lifts it and rain pours straight down the flue.
Loose Cap on Older Brick Chimney
Homeowner in North American Fork noticed water stains on the attic ceiling after a cold snap. Inspection revealed the original cap had shifted because two anchor bolts had pulled from the brick due to repeated freeze-thaw. We removed the damaged cap, installed a new stainless unit with four stainless lags into sound masonry, and resealed the crown. Draft tested clean with no further leaks reported.
How it works
- 1
Roof Access and Inspection
Technician climbs to the roof and examines the cap, crown, flashing, and liner condition from above, noting damage from freeze-thaw or canyon wind.
- 2
Cap Removal and Assessment
Old cap is removed carefully to avoid disturbing surrounding masonry; mortar cracks and anchor points are evaluated for reuse or replacement.
- 3
New Cap Installation
Stainless steel cap is anchored with stainless hardware and sealed at the crown with refractory cement matched to local temperature extremes.
- 4
Draft Test and Cleanup
Smoke test confirms proper draft; debris is cleared from the roof and gutters before departure.
Pricing
Upfront quotes provided after roof inspection; price varies with cap size, masonry condition, and roof pitch.